Tips for installing your own Lifewood timber floor
Lifewood provides a complete solution for all your DIY needs.
A Lifewood client, Derek, recently shared his insights and experience after using our timber flooring as part of a larger renovation project. The project involved extending the floor area and levelling it up to match existing jarrah flooring.
Derek has installed both floating and nail down (secret nailing) timber flooring in the past on personal projects. When installing our flooring, Derek used past experience and our installation guide to successfully install his beautiful Marri 130mm flooring.
If you’re interested in taking on your own installation project please get in touch with our consultants for further information and support.
See Derek’s tips for installing your floor below.
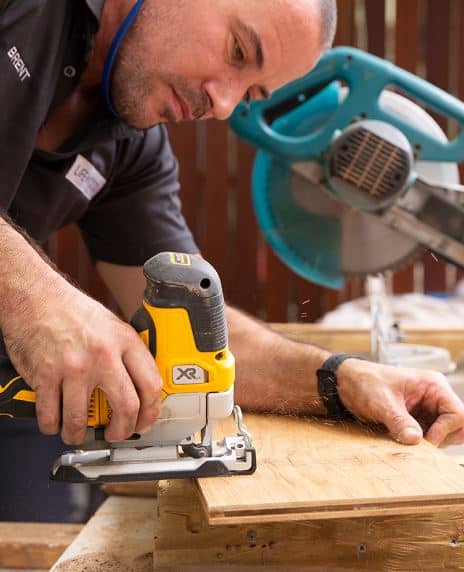
Equipment Requirements
- Circular saw or Mitre saw for cutting boards to length
- Rubber mallet
- Notched trowel – 6mm
- Spacers – approx. 10 to 15mm to leave space for expansion gap
- Paint roller for application of moisture barrier
- For Cleaning:
- Methylated Spirits
- Mineral Turpentine
- Micro-fibre cloths
Recommended
- Table saw – for ripping and cutting new grooves
- Brad nailer – 18 gauge
- Biscuit joiner
- Router
Setting yourself up for success
- The industry standard for tolerance for dips and high spots is up to 3mm over 1m. Check the entire floor area with a straight edge.
- If installing on concrete – Raised sections can be ground back to level the floor, dips can be filled with glue.
- Over tiles, timber and ply check floor level for the same tolerance.
- Derek’s floor required levelling up with ply to meet existing Jarrah flooring. If you need to bring floor level up to meet other rooms/existing floor – install plywood glued and nailed if possible.
- Lifewood’s board height is 15mm with a finished height of 18mm including the glue so ensure you allow for this when creating a level floor that meets with other rooms/flooring.
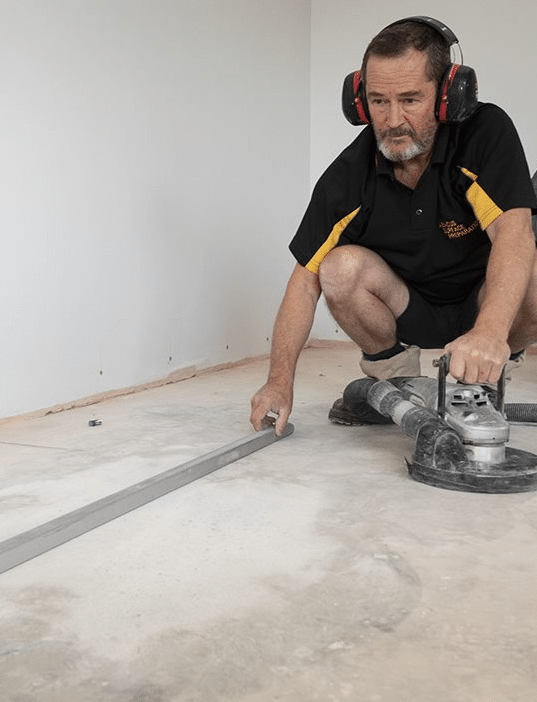
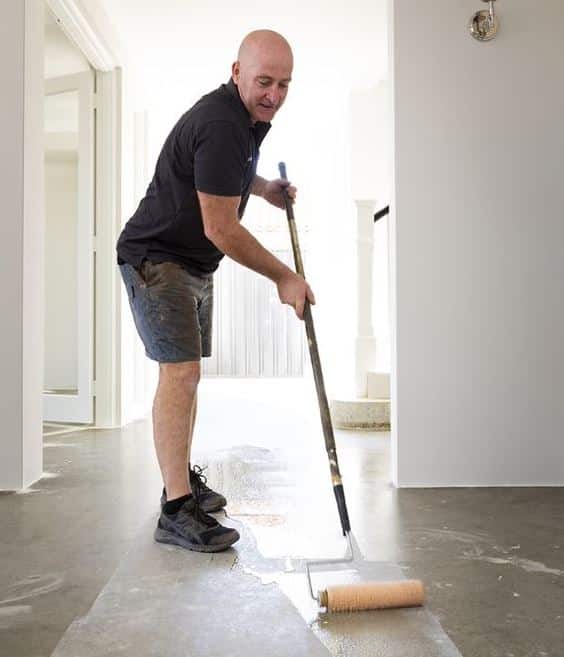
Pre-installation
It is important to check your concrete floor for signs of moisture and prepare the concrete with moisture barrier prior to installation, supplied with your Lifewood DIY pack.
Find your main starting reference line. Base this line on a straight wall, edge of a staircase, down an entry hallway. Getting this right at the start is an important step. If it’s not right your floor will look ‘off’
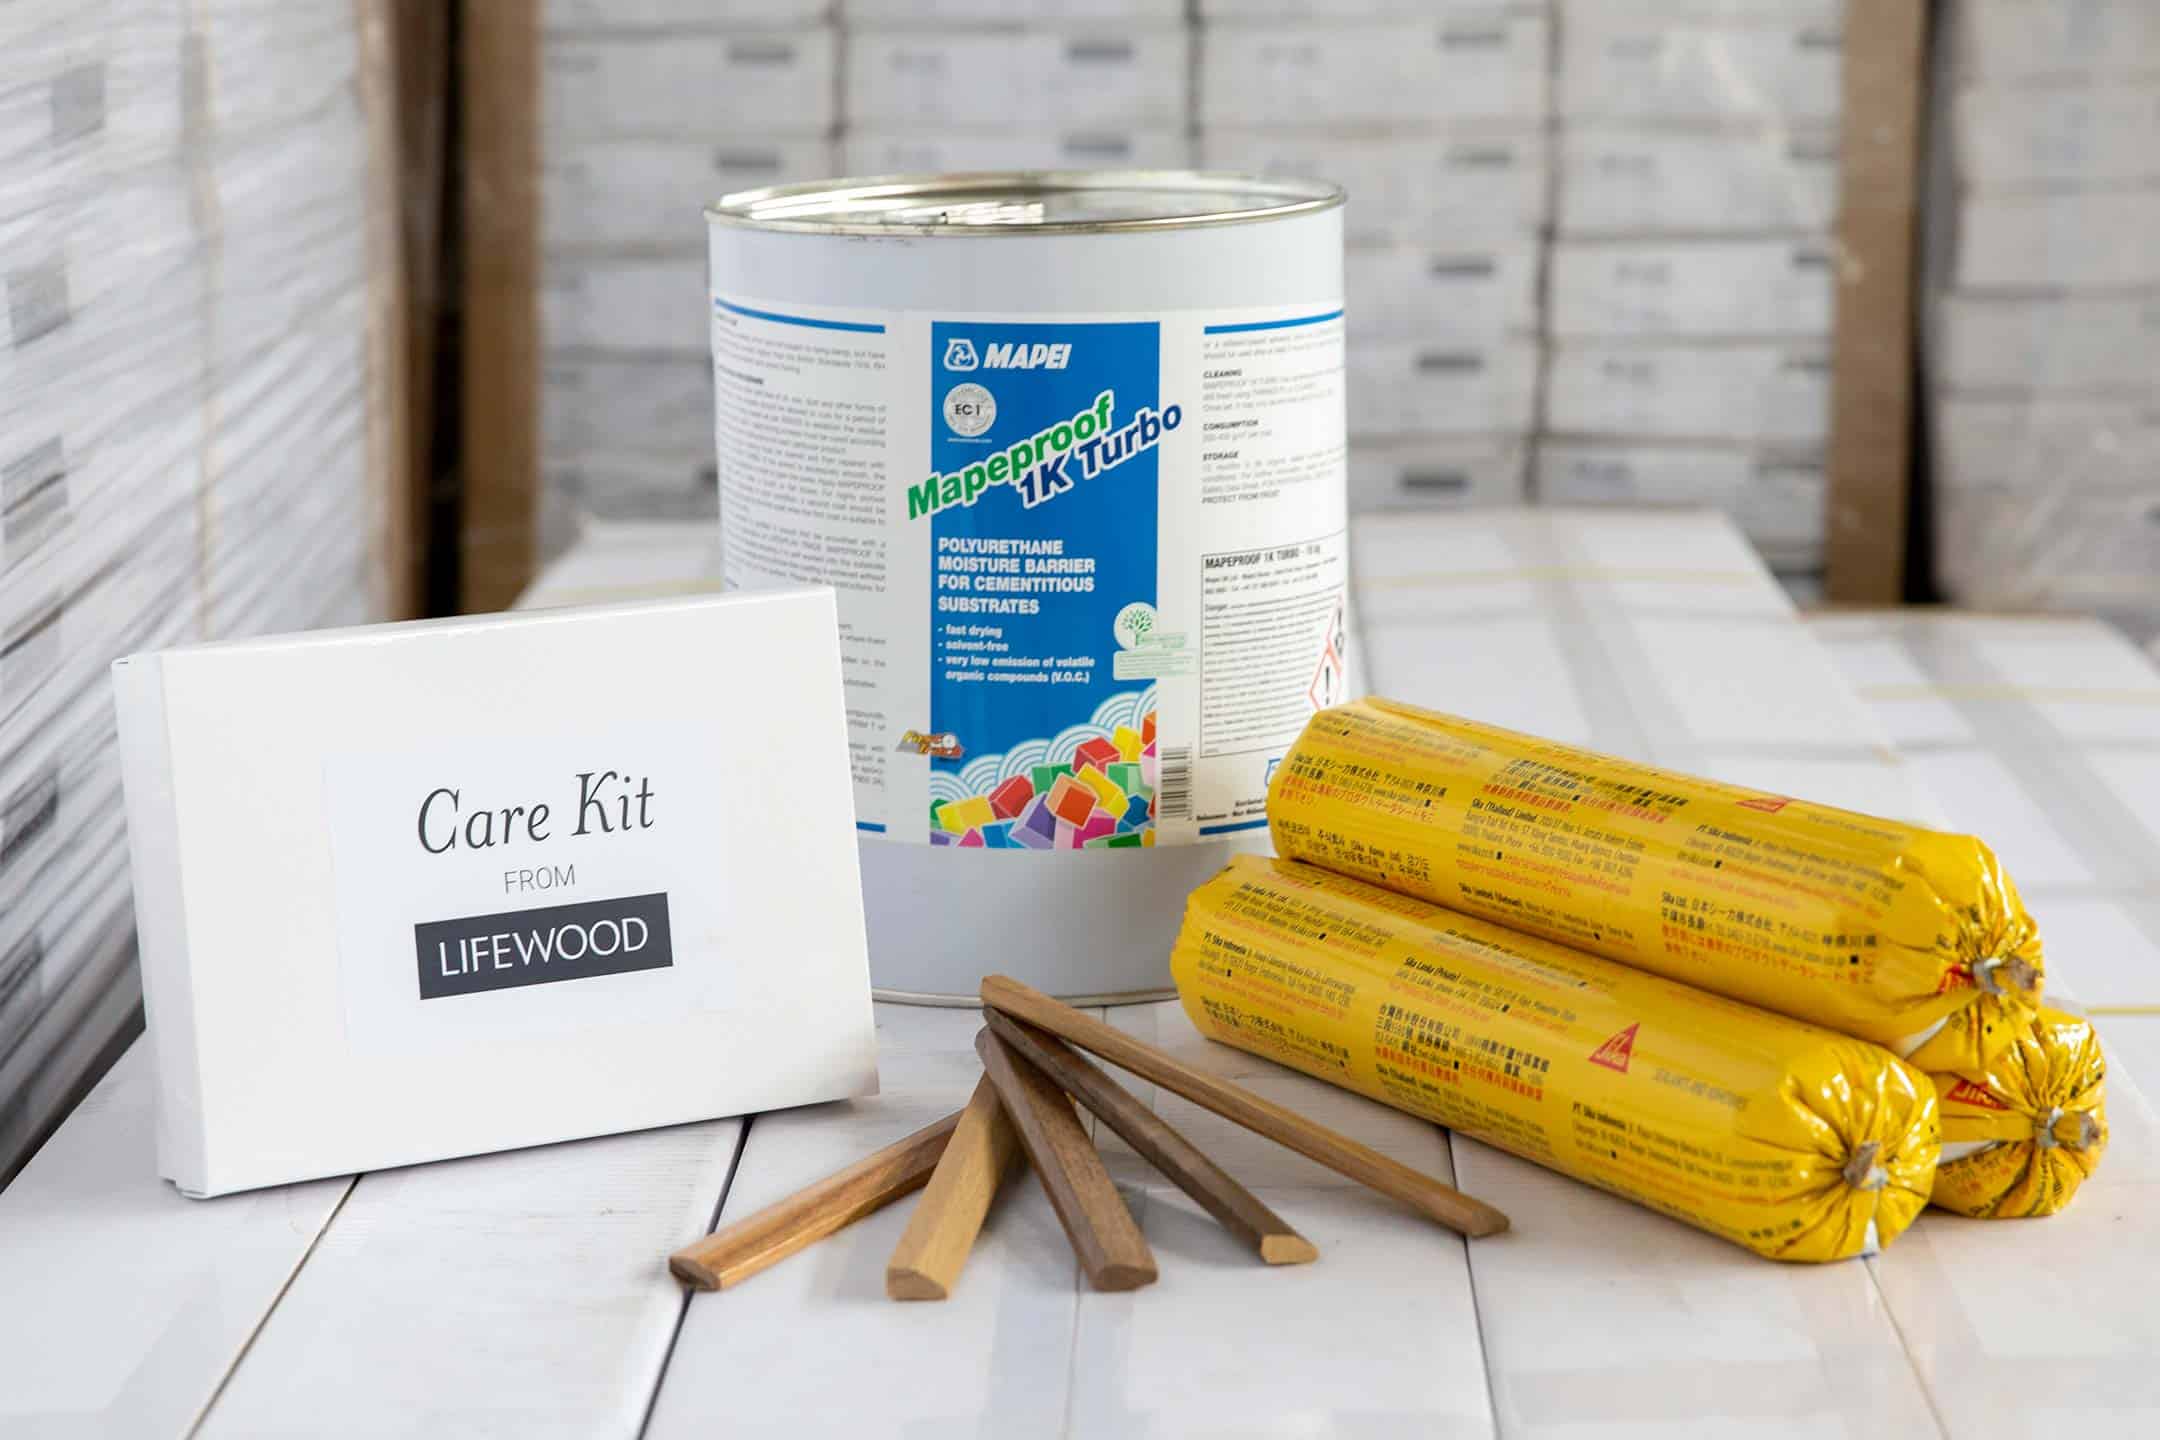
Lifewood silver packages come with everything you need to install your floor.
Organise your workspace
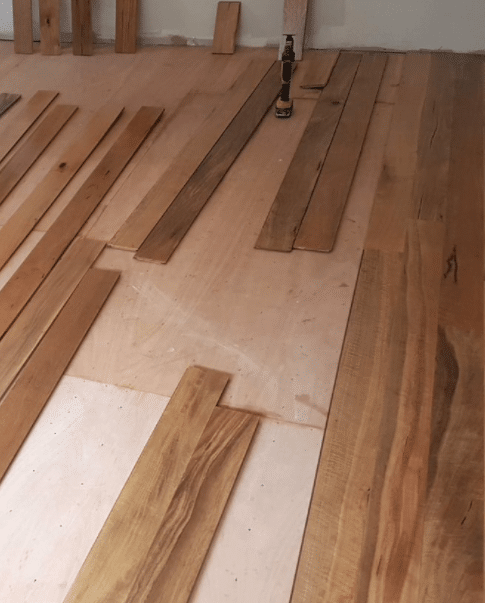
Unpack 3 – 4 boxes and look for natural colours and grain patterns. Select boards to that the colours/grain patterns appear random across the room. Space out the variations in your timber.
During the installation process lay out 3 to 6 boards and cut as required to get staggered placement of end joins, so that no two board ends appear close to each other. Again this is a time saving step to check you are happy with the placement of your boards before you glue down.
Allow an expansion gap around the borders of the room. Timber is a natural product that can expand and contract.
The expansion gap is then hidden behind beading or skirting.
Tips and lessons learned
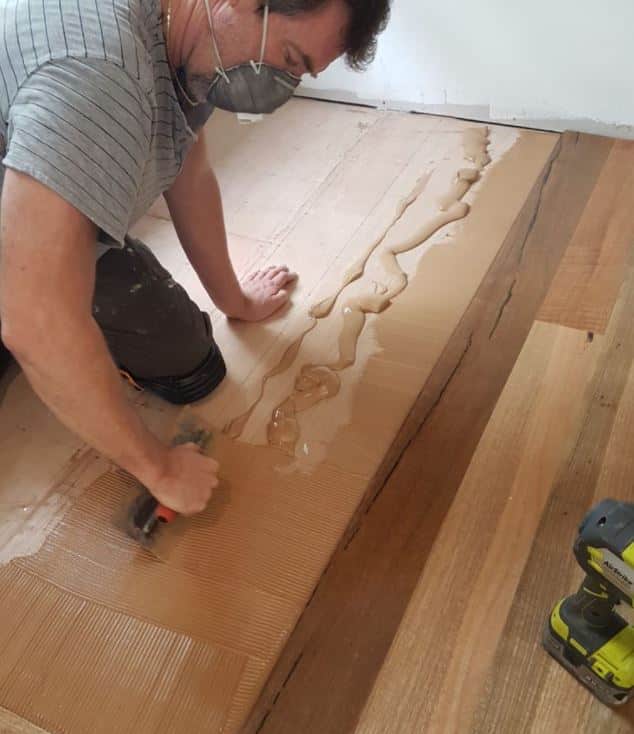
Keep a soft rag/microfibre cloth and methylated spirits handy – no matter how hard you try you’ll end up with a little glue on top of the boards. This can be cleaned away easily with Methylated spirits.
Use your rubber mallet to assist in moving each board snuggly into place. Wearing an old pair of soft soled shoes also works well to step and push the board in.
Once you’ve laid a section place some full packs of timber over the installed area to assist with bonding to the subfloor.
Find a friend – having a helper to hand you floorboards, keep track of the order of boards you’ve worked out, unpack boards and generally assist with the flow of installing, is going to save you time and make the process an enjoyable one.
Australian Timbers
French Oak
American Timbers
Beauty meets longevity
Download
Price Guide

Your details are kept confidential
4.7 from 250 reviews

